The Kendo UI Grid, from Telerik, looks and feels excellent right out of the box. However, there are times where your UI could benefit from tweaking the standard look and feel to make something standout, to draw the users attention to an important piece of information or highlight some operational need. Kendo makes this easy.
It’s no secret, that I am a huge fan of the Kendo package. One of the many reasons why, is that it is built on open standards and functions as you would expect a web library should. In this example we are going to highlight rows in the Kendo Grid based on the data in a specific column in each row. And we are going to use standard JQuery functions to do so.
Our demo grid is going to display a list of transactions to our user. We want to make it super clear which transactions are DEPOSITS and which transactions are WITHDRAWALS. The full source for the demo is here: https://bitbucket.org/abumgardner/kendo-ui-grid-row-color-demo/
And our end result should look like this:
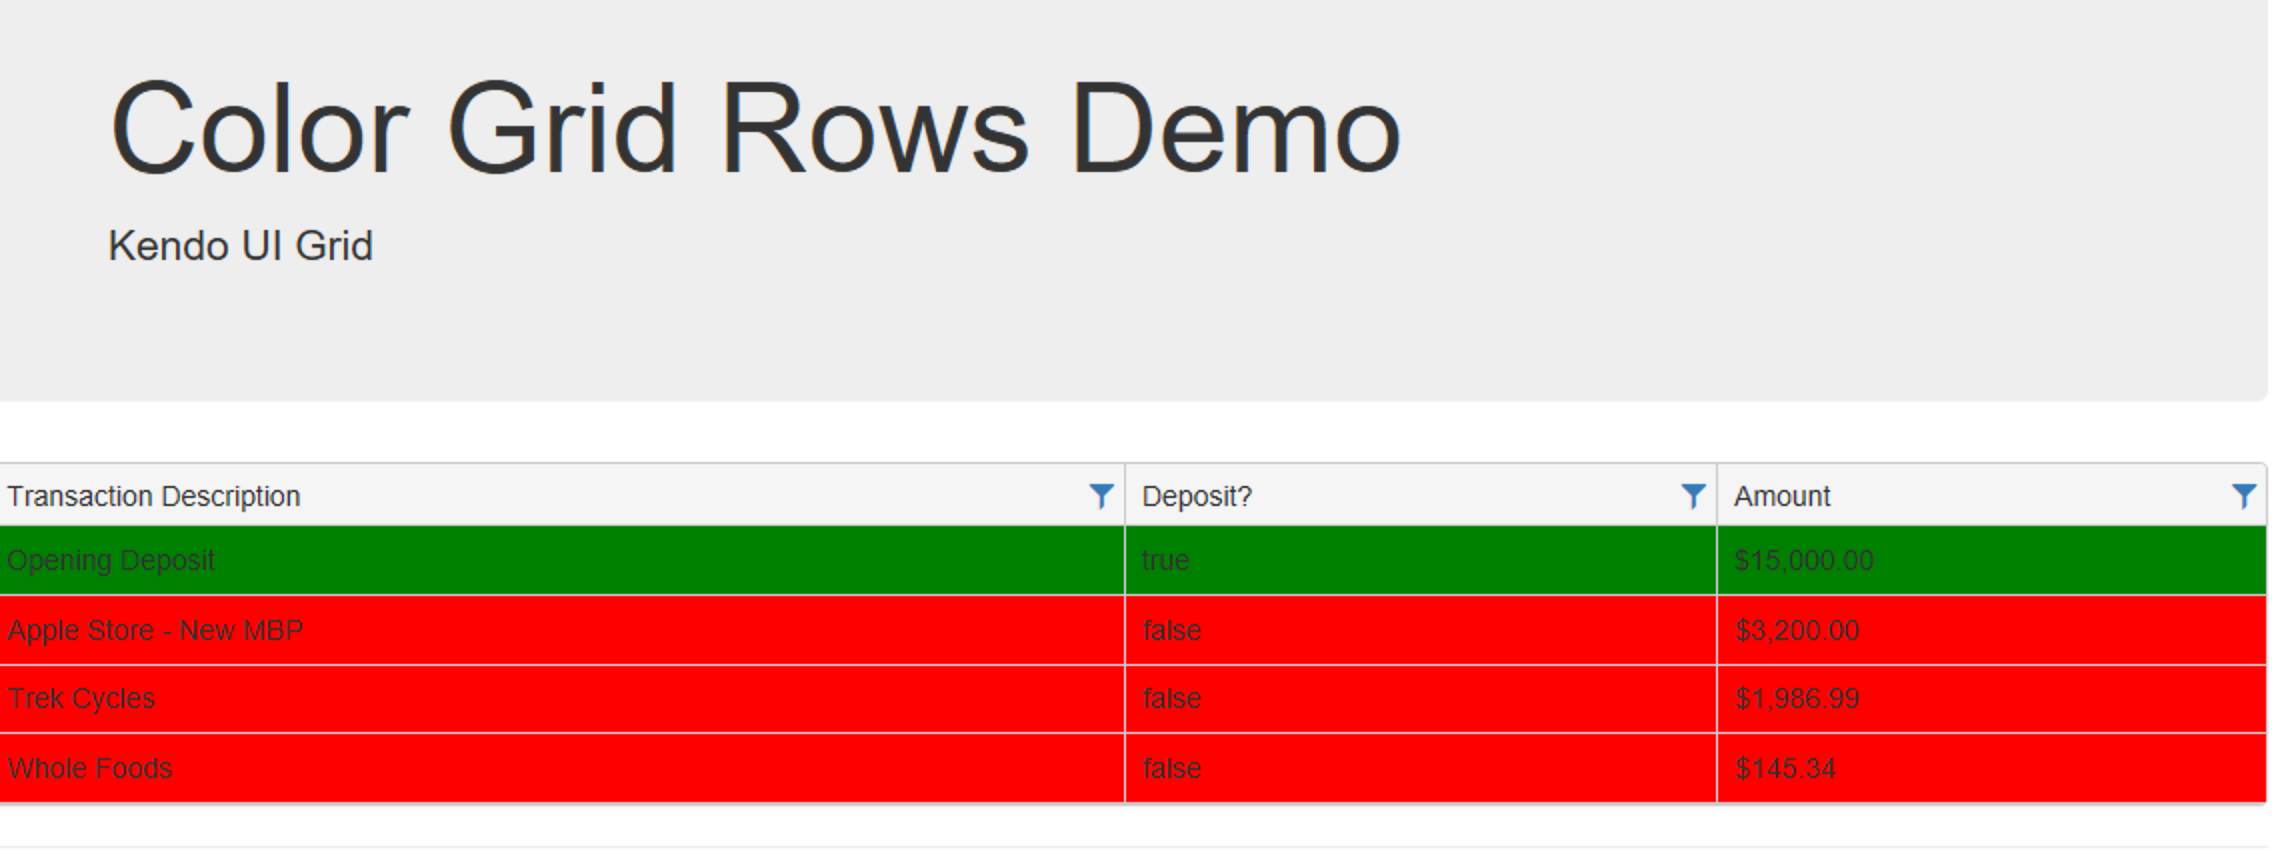
Changing row background color based on data in the row
To start we create a standard POCO to represent our transactions and place this in the Models folder.
public class Transaction
{
  public string Description { get; set; }
  public bool deposit { get; set; }
  public decimal Amount { get; set; }
}
Then we can define a basic Kendo Grid. We are not doing anything fancy with the grid at this point. It is just a simple Kendo Grid that is added to our index.cshtml view.
@(
    Html.Kendo().Grid<ColorGridDemo_Two.Models.Transaction>()
        .Name("DemoGrid")
        .Columns(columns =>
        {
            columns.Bound(p => p.Description).Title("Transaction Description");
            columns.Bound(p => p.deposit).Title("Deposit?");
            columns.Bound(p => p.Amount).Format("{0:c}");
        })
        .Sortable()
        .Filterable()
        .Events(evnts => evnts.DataBound("ColorMeBad"))
        .DataSource(datasource => datasource.Ajax().PageSize(10)
                  .Read(read => read.Action("Transactions_Read", "Home"))
                )
)
If you notice in our grid definition we have the following line:
.Events(evnts => evnts.DataBound("ColorMeBad"))
We are going to use the Grids built in DataBound event to fire off a piece of Javascript that will alter the css in use. To learn more about the events see the Telerik website here: https://docs.telerik.com/kendo-ui/api/javascript/ui/grid The docs tell us that the databound event is “Fired when the widget is bound to data from its data source.” That description is not super clear, but it fires after the datasource is bound. If you ever need to take some action immediately before the datasource is bound, then look for the databinding event.
When we setup our grid we told it to fire a javascript function named ColorMeBad on the DataBound event. This is where we will do the actual work of coloring the rows.
function ColorMeBad() {
        var grid = $("#DemoGrid").data("kendoGrid");
        var data = grid.dataSource.data();
        $.each(data, function (i, row) {
            if (row.deposit) {
                $('tr[data-uid="' + row.uid + '"] ').css("background-color", "green");
            } else {
                $('tr[data-uid="' + row.uid + '"] ').css("background-color", "red");
            }
        })
    }
Here we use JQuery to get a reference to the grid, use the grids dataSource object to get the data, then iterate over the rows. We are checking the deposit property on our transaction model, and if true using css to change the background color to green, otherwise red.
You can clone the demo project here: https://bitbucket.org/abumgardner/kendo-ui-grid-row-color-demo/